Set Up Crossmark Wallet
1. Install Crossmark Wallet
Currently, Crossmark wallet only supports desktop devices.
You cannot use it on mobile device yet.
Always check the latest updates on their channel.
Here's an example for Chrome browser.
Add an extension by clicking Add to Chrome.

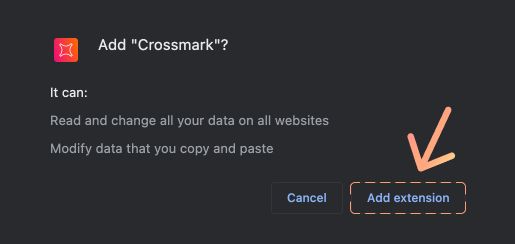
Read a disclaimer and click Add extension.
After the installation is finished, you can check the Crossmark wallet in the Extensions list of the Chrome browser from the top right corner.
In the extension list, we recommend that you pin the Crossmark wallet to make it easier to access for future use.
Once you pin it, you will always be able to see the Crossmark wallet icon at the top right of the Chrome browser.
Don't try to connect to Orchestra just yet; you will need an open account first.
2. Create Your New Wallet
Next, let's set up your own XRPL wallet.
First, read the "DISCLAIMER" carefully and ACKNOWLEDGE it.
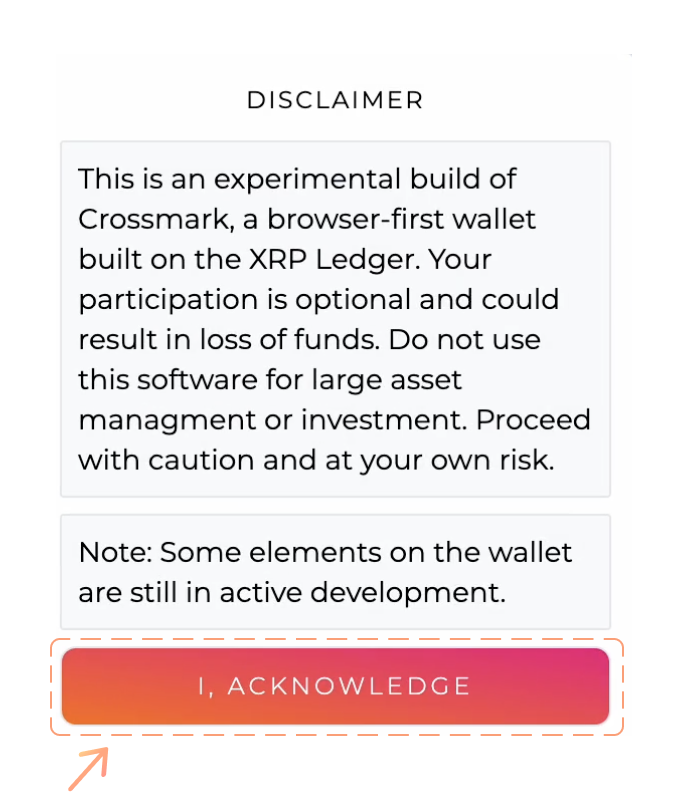
Now you can start setting up a new wallet!
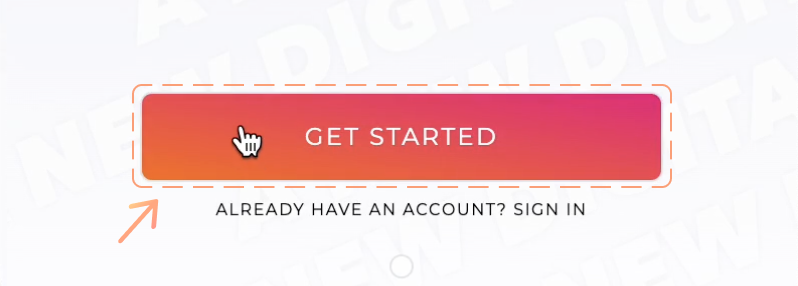
With the extension installed, click the GET STARTED button.
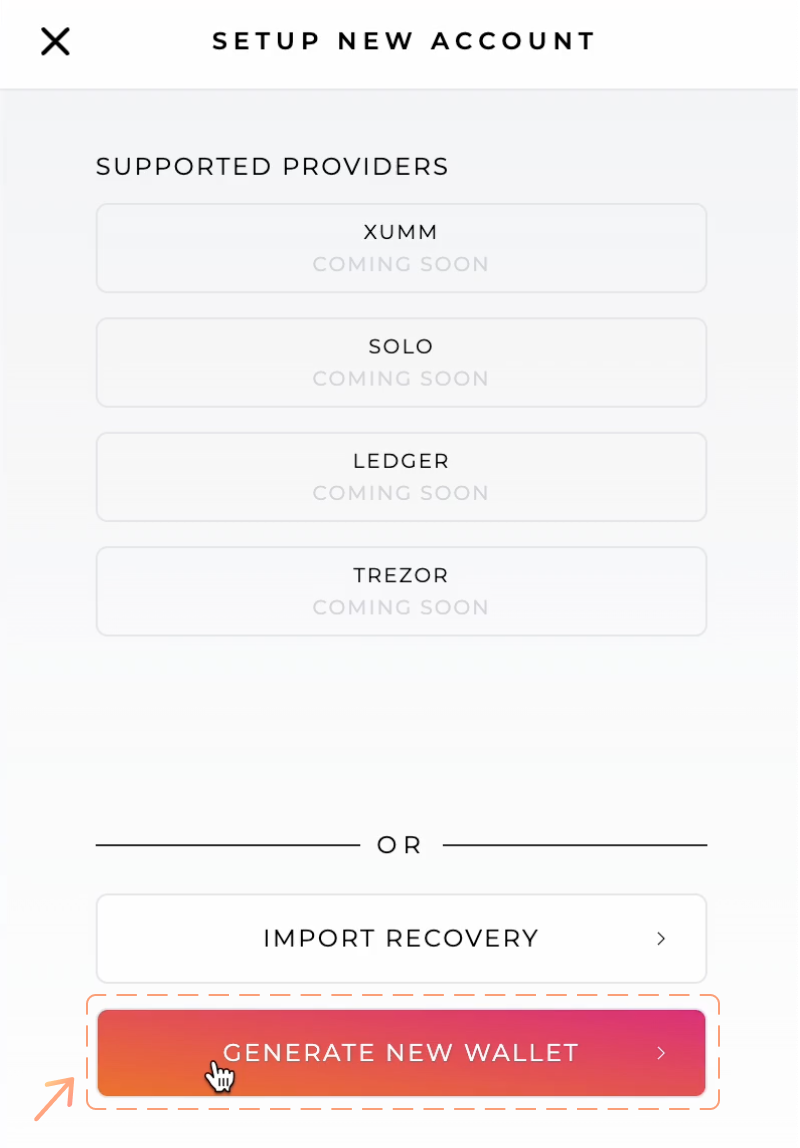
The next page will present a number of options for linking to existing wallets, as well as recovering an existing wallet in Crossmark. To create a new wallet, you’ll want to click the GENERATE NEW WALLET button.
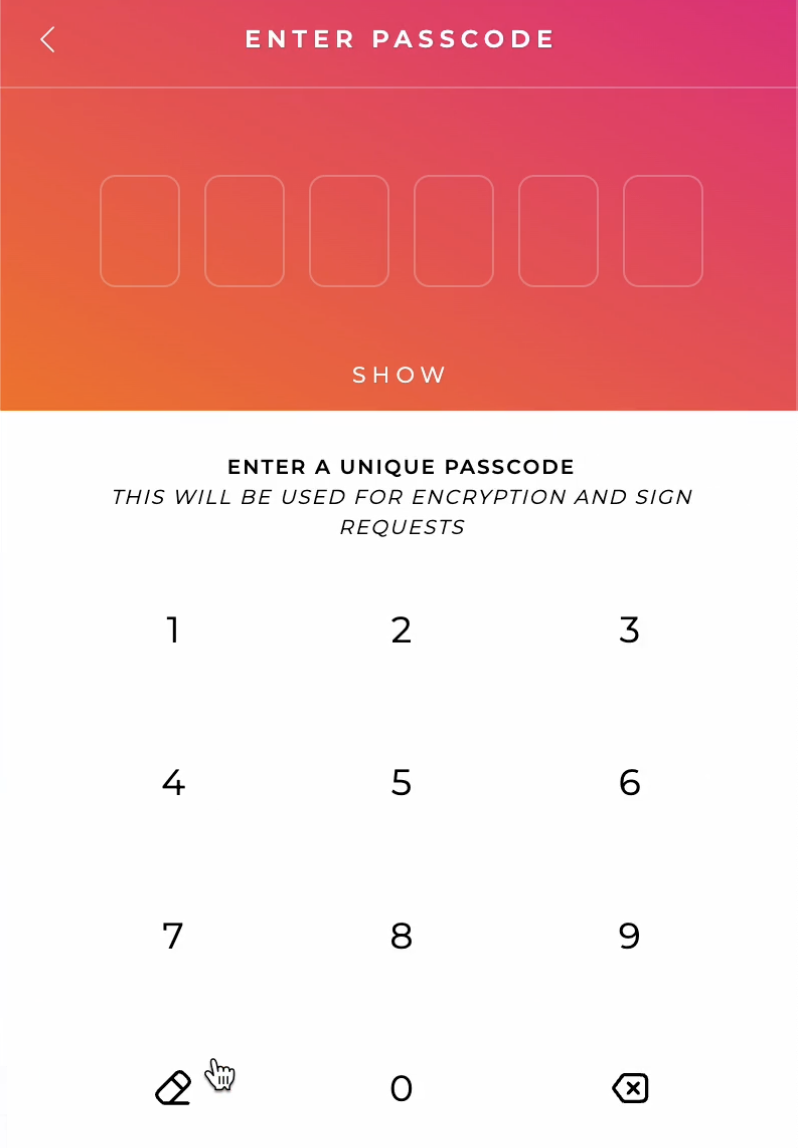
On the next page, enter a six-digit passcode you won’t forget. After entering the first time, you will be asked to confirm by entering your passcode again. You can click Show under the passcode digit boxes to check you’ve correctly entered your digits of choice if you need.
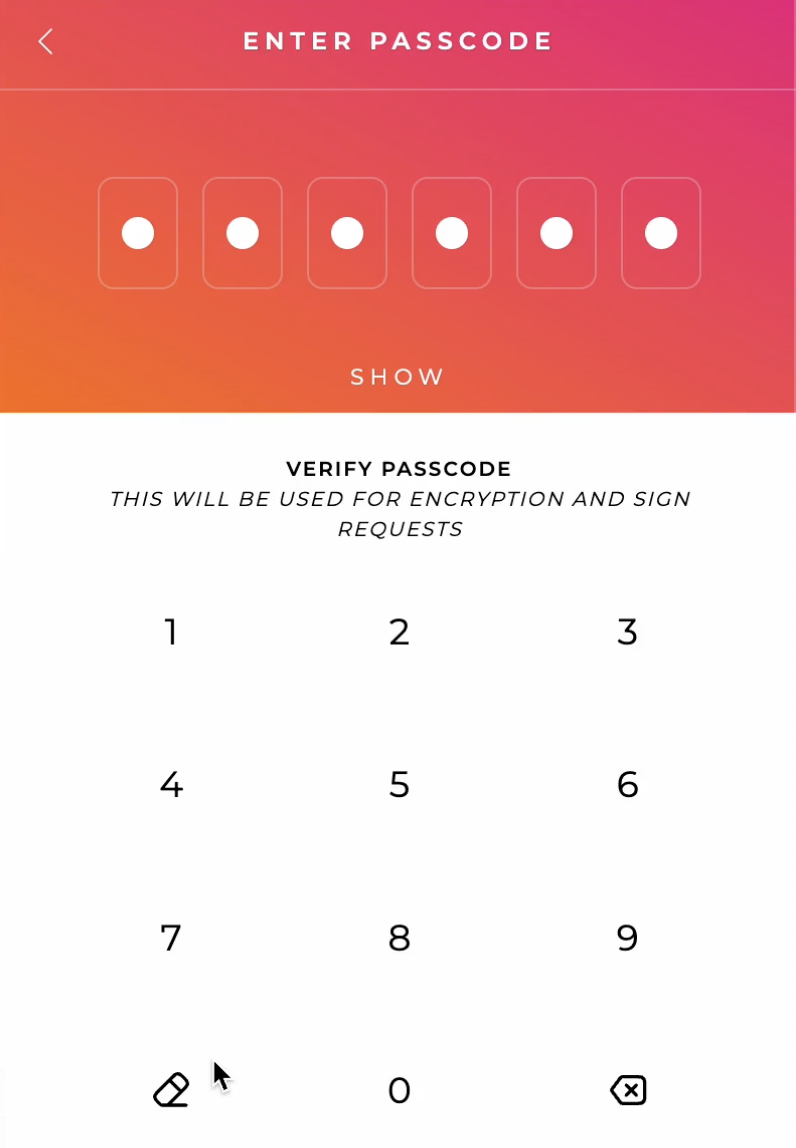
Verify the passcode by inputting it again.
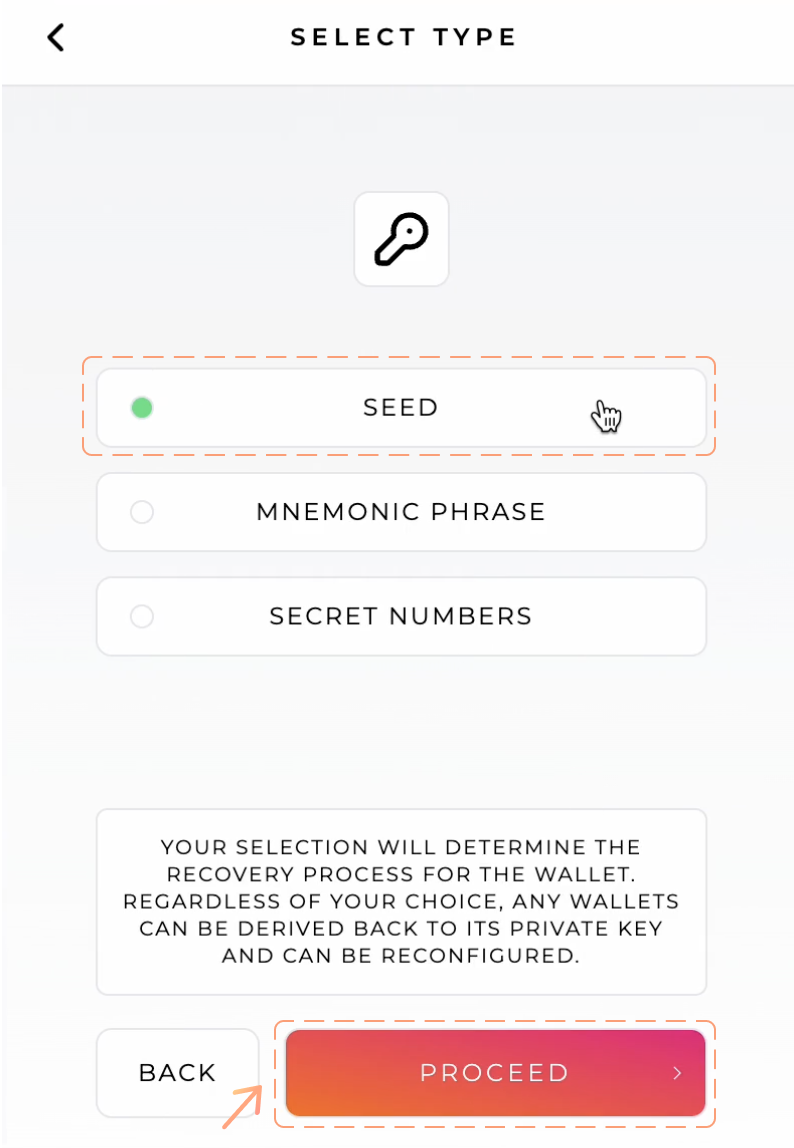
Once done, a new page of backup options will appear.
Choose your preferred recovery process for your wallet; this will be a list of words/numbers you'll have to remember to keep your funds accessible.
In this example, we’ll use SEED PHRASE, but the process is largely the same for any backup option.
On next page, the seed phrase is shown.
- Your seed phrase is essential for wallet recovery.
- Losing it means losing access to your assets in the wallet.
- Keep it private; NEVER share it with anyone, even with "Support".
- Avoid screenshots and saving to cloud storage.
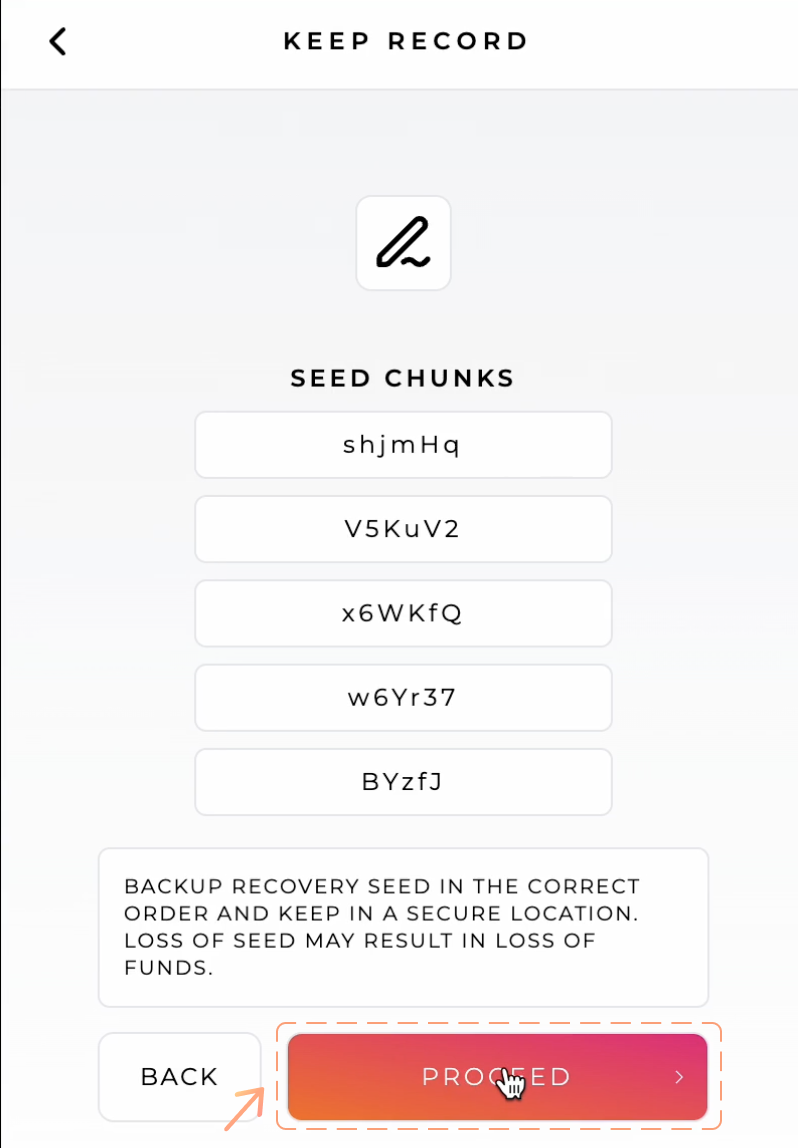
When that's done, Crossmark will ask you to input the seed phrase to ensure you've copied it down correctly. Input the phrase word by word as instructed.
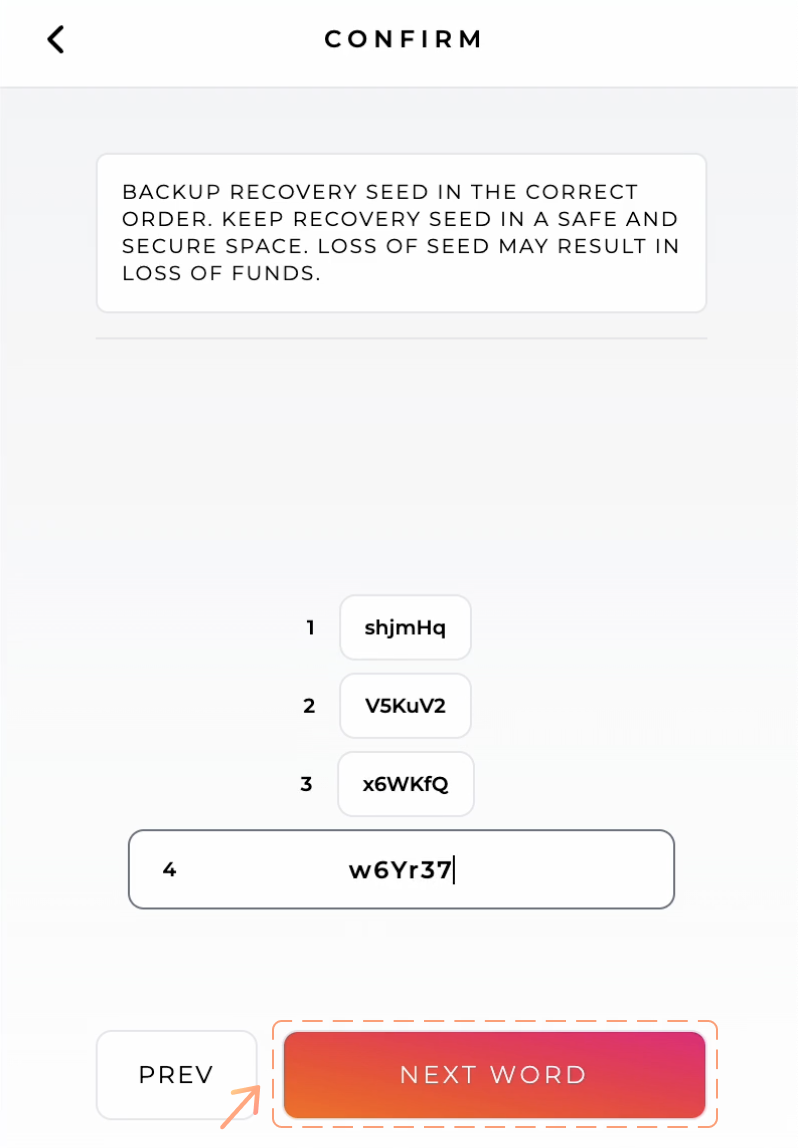
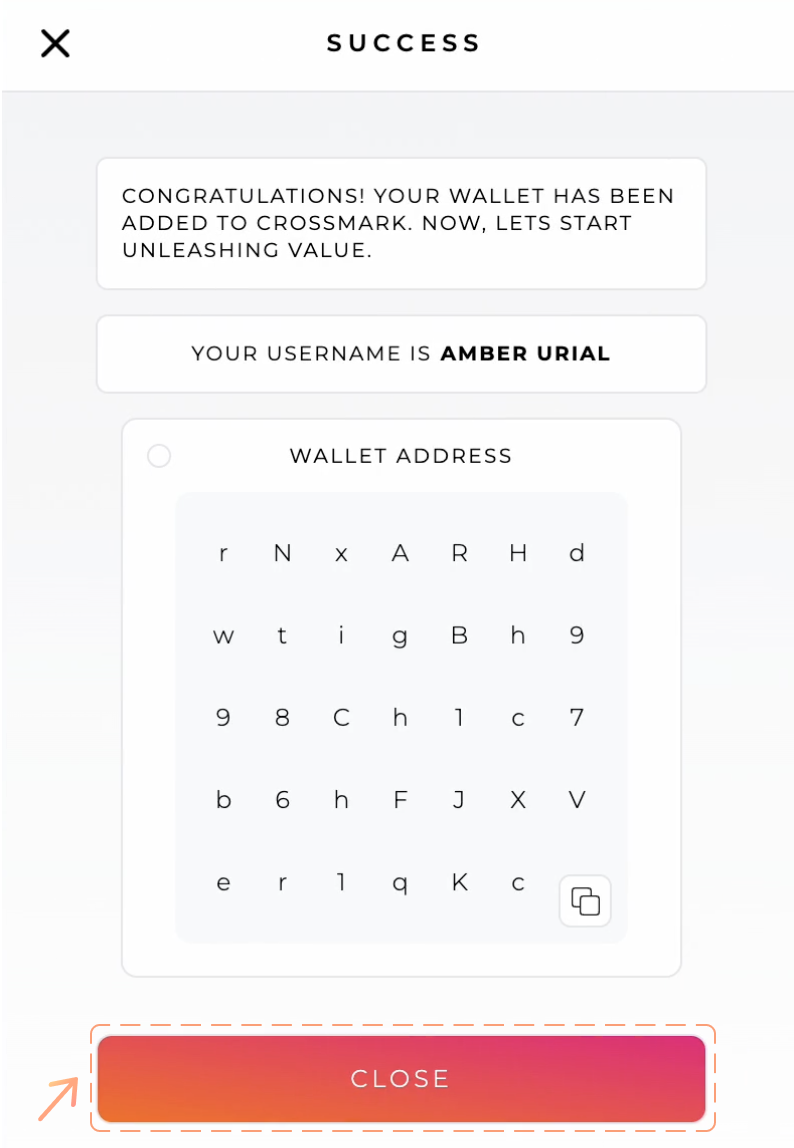
When finished entering all the strings, you will be met with a success screen.
A user name will appear as well as your wallet address.
This user name can be reconfigured later.
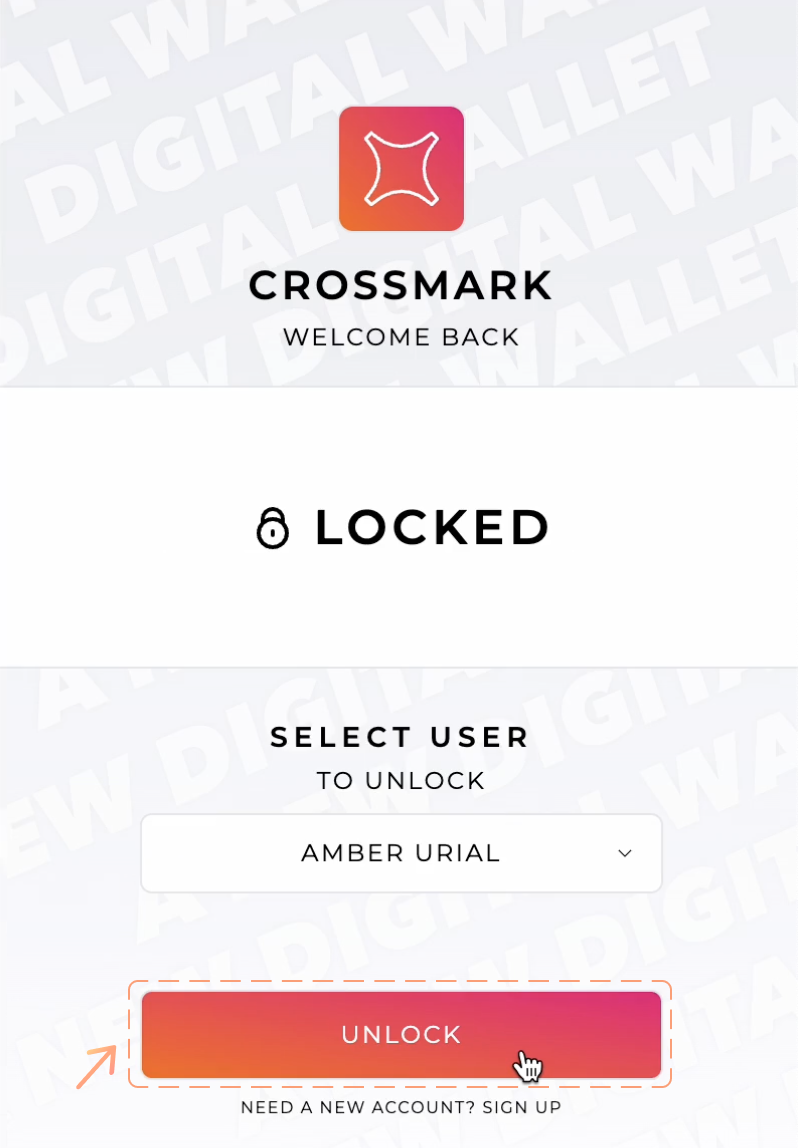
You’ll be taken to a user select screen.
Select your newly-created user and enter the pin you chose earlier.
🥳 Congratulations! 🥳
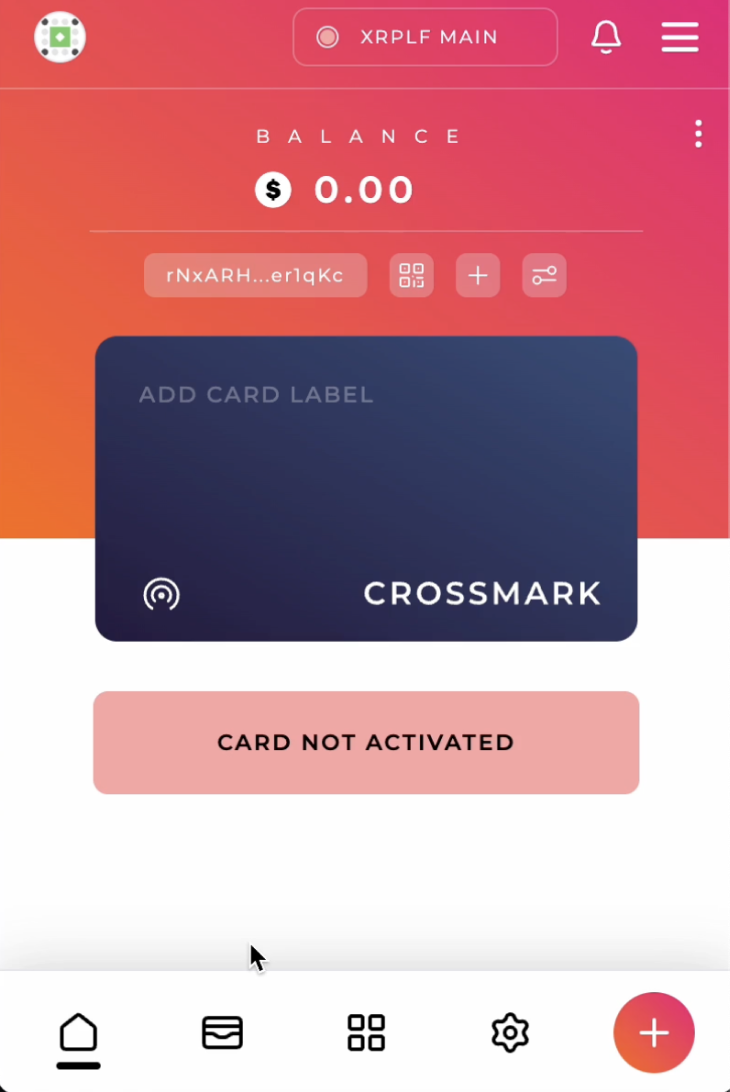
You’ll be met with the overview screen for your new Crossmark wallet.
